
So I went to Joann's last weekend and got a bunch of random stuff. I really wanted to do something with feathers.

But, like a lot of creations, I changed my mind. While playing with the fabric I realized I really liked the lace on the headband. So my next project started:
All you need is:
- Fabric glue or hot glue gun
- Headband - color of your choice
- Lace - color of your choice

First figure out how you want to put the lace on the headband. I wanted to still be able to see a lot of the blue so I chose to twist the lace around the headband.
The first step is to glue the lace onto one end. Make sure to angle the lace so it does not bunch when you start twisting it.

Since I am using fabric glue I had to wait about 30 minutes until I could work with it. Using a hot glue gun would be faster, but I don't own one.
Next (after it dries) twist the lace around the headband and glue the other end.

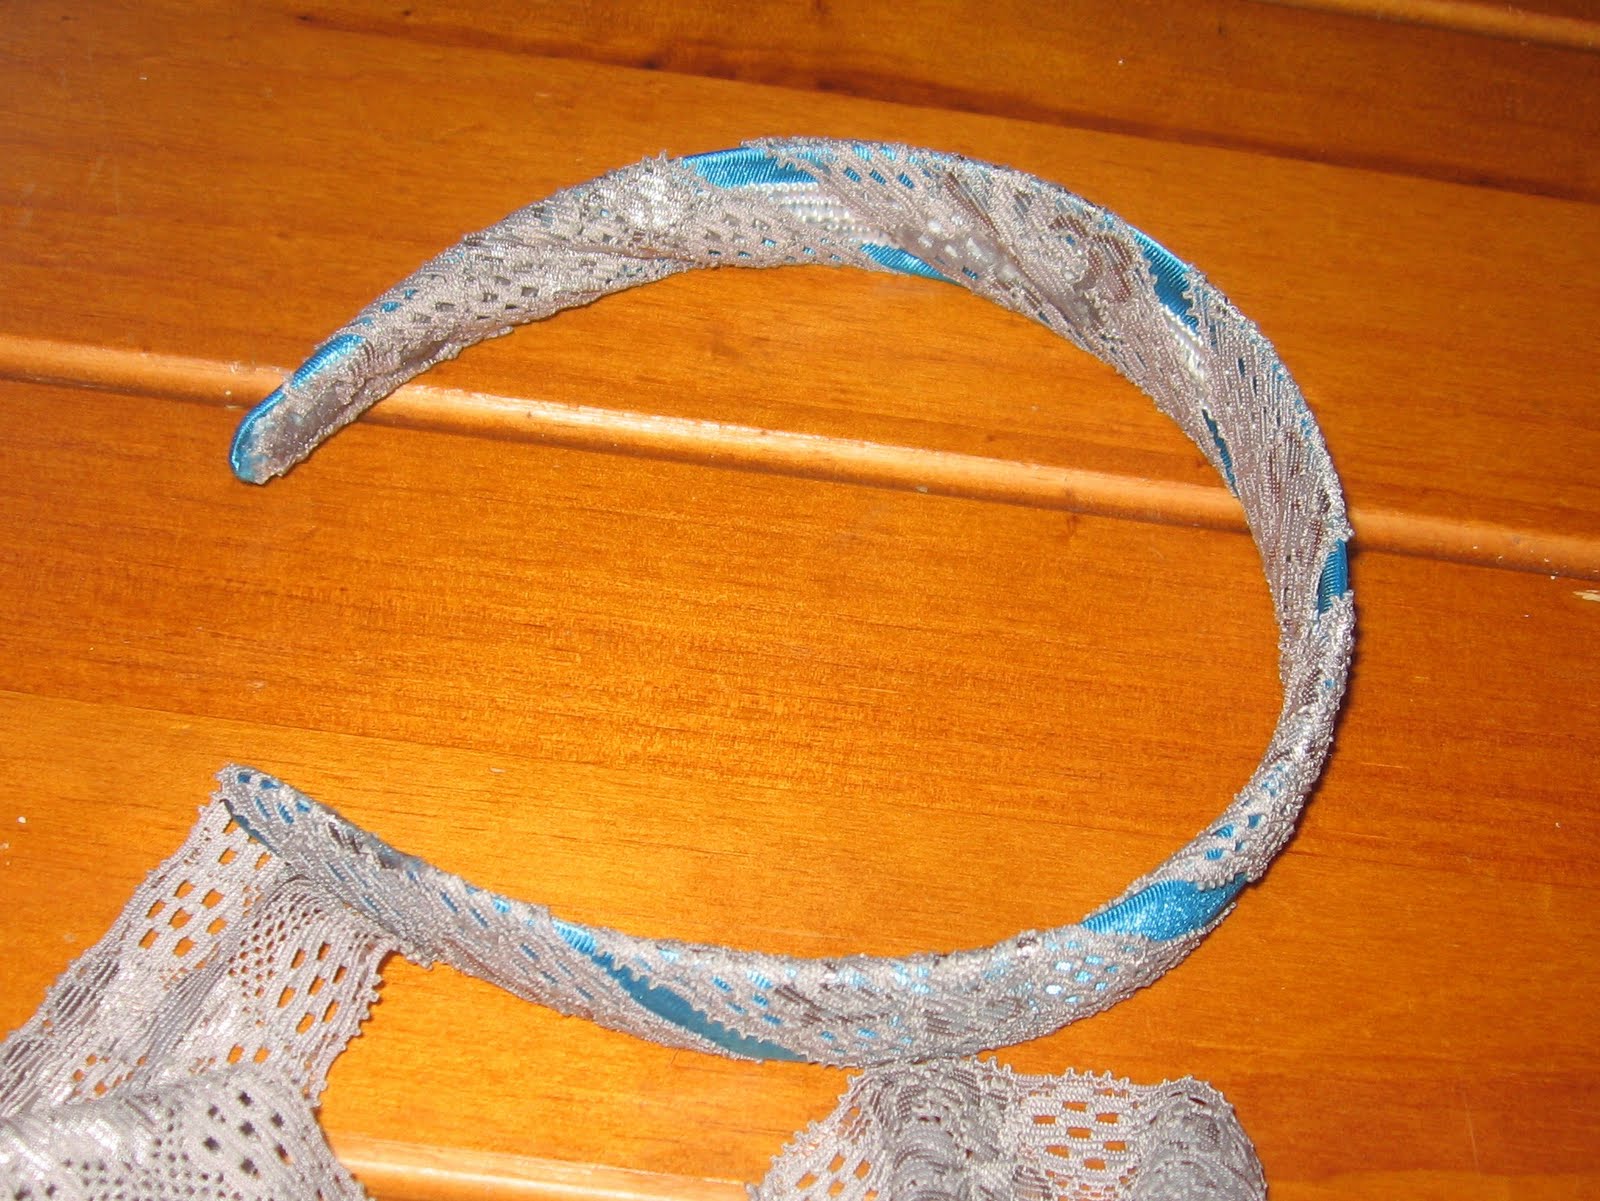
I had to hold mine for a while so it would stay in place. After the other end dries put a dab of glue under each twist on the underside of the headband. This is just for some added support so the lace does not slip. It is kinda hard to see the glue in the picture, but it is the white splotches.

Cut off the extra lace and let it dry. Then wear it with a cute bun :)


This was a really cheap DIY. I already had the fabric glue so that was free. The headband was $3 and the fabric packet was $2 with a coupon from Joann's. So my total was a whopping $5!
No comments:
Post a Comment